
3D PRINTING GUIDE
3D printing from a photo or sketch: what is possible?
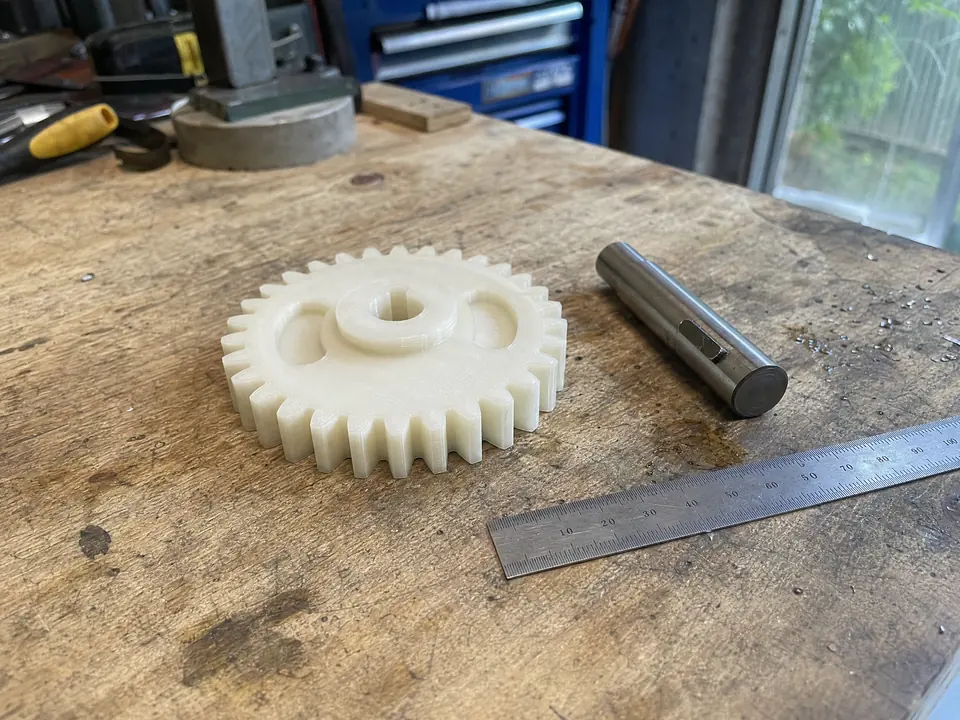
Illustrative image; not a documented customer order.
Have a broken plastic bracket, end cap or unusual clip but no STL? A new model may be developed from measurements, sketches and photographs. However, designing geometry is a separate stage from printing an existing file, and it should be quoted accordingly.
Is a single photograph enough?
Usually not when the part must fit another component accurately. Camera perspective distorts proportions and hidden surfaces cannot be seen. A photograph is useful for understanding the shape and purpose, but it does not provide a complete dimensional definition.
What photographs should you take?
Photograph the part from the front, back, sides and at an angle, with good lighting and minimal perspective distortion. Include an object of known size or, preferably, a ruler. Show the part in its mounting location if possible.
Measurements that matter most
Record total length, width and height, hole diameters, spacing, mating surfaces and wall thickness where accessible. A simple hand-drawn sketch with dimensions is often more valuable than a highly polished photograph.
From references to CAD
The typical process is reviewing the reference material, modelling the geometry, preparing a test print and checking the fit. If a design requires precision, additional measurements or iterations may be necessary.
Photos and AI-generated models
Image-to-3D tools can help create visual concepts but may invent hidden geometry. For dimensionally critical replacement parts, accurate CAD construction from measured references is usually more dependable than an unverified AI mesh.
See 3D model preparation and how to prepare files for printing.